Log entry
ZTN - CI/CD Testing
In the previous Zero Trust Networking (ZTN) posts, we explored how we can add security to secure sensitive areas of your website. We saw how we can require users to auth via an identity provider, and how we can require users to be on authorised devices.
Where does that leave your CI/CD build and deployment system though? I typically run Postman/Newman/Bruno API tests and Playwright UI tests as part of my builds. How will Github Actions, for example, auth itself as a user or how can we auth the Github Actions hosted runner as being an authorised device?
The answer is to put in place “Service Credentials”.
Setup a Service Credential
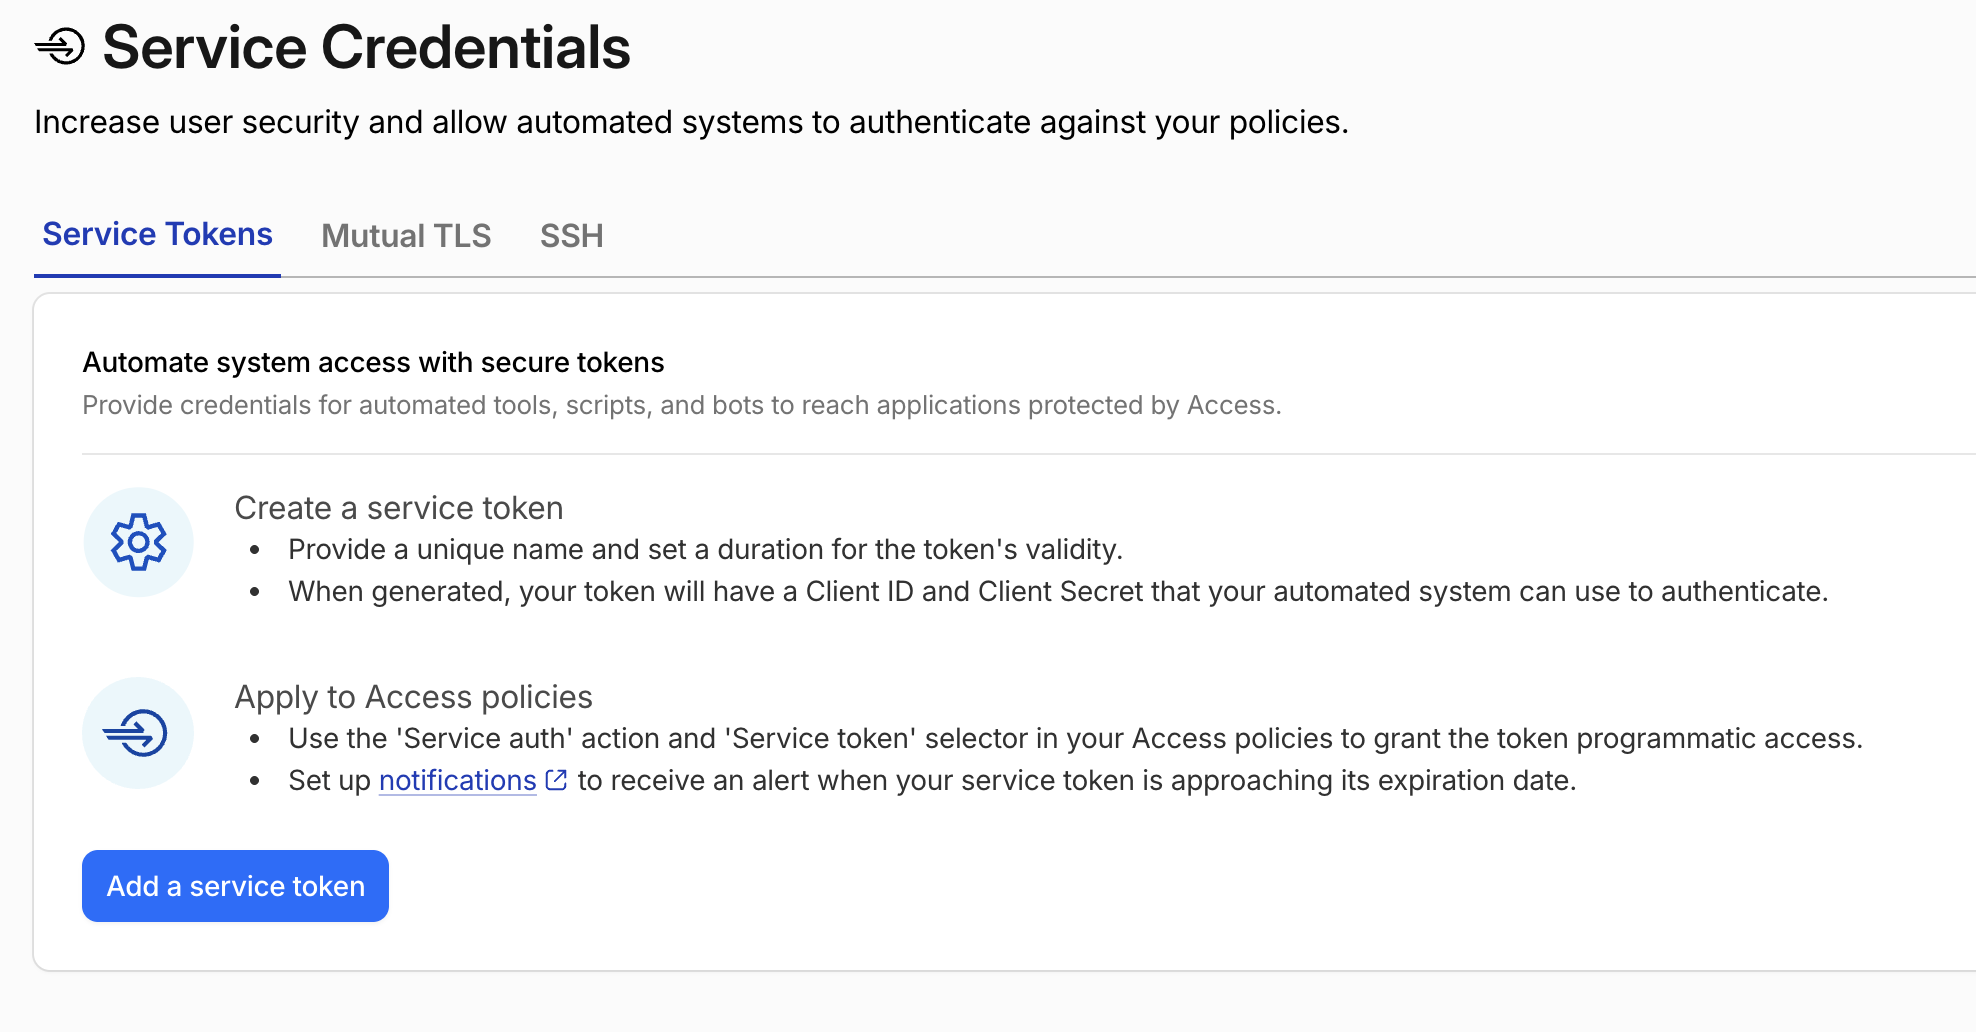
- Navigate to Access Controls -> Service Credentials and add a service token
- Give the token an appropriate name and generate the token
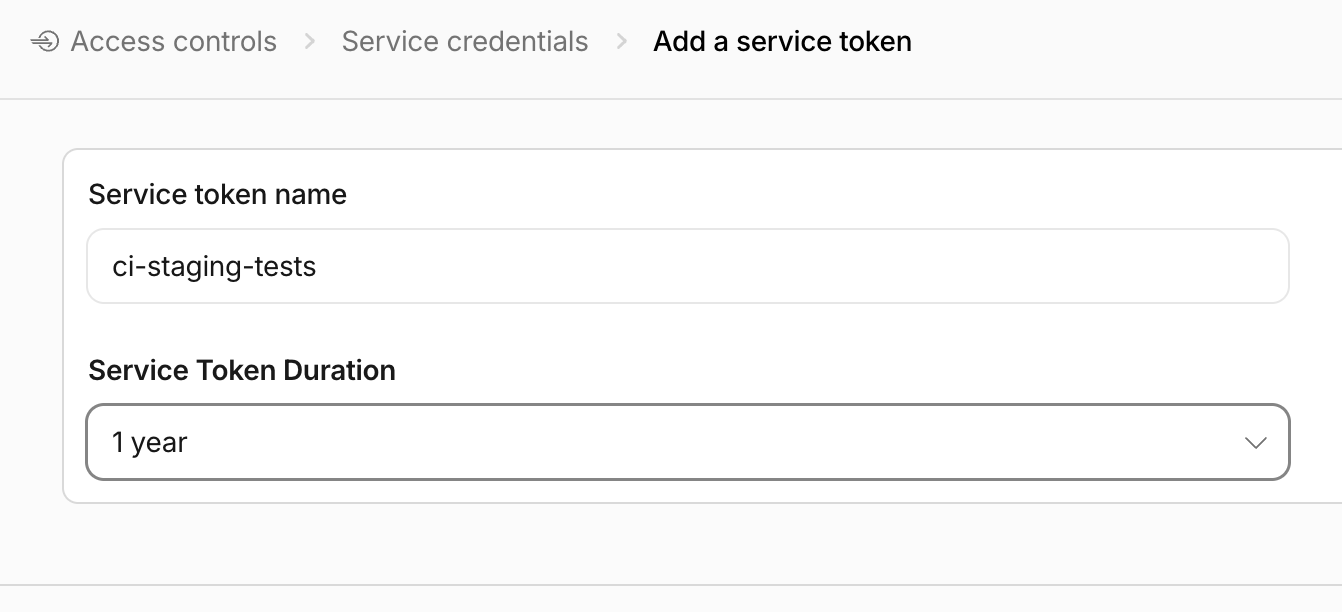
- Save the Client Id and Client Secret securely! Once you navigate away, you won’t be able to see it again and will have to regenerate it
- Navigate to Access Controls -> Applications, click in to your application and add a second policy. Include the Service Token that you just created, and make the Action be “Service Auth”
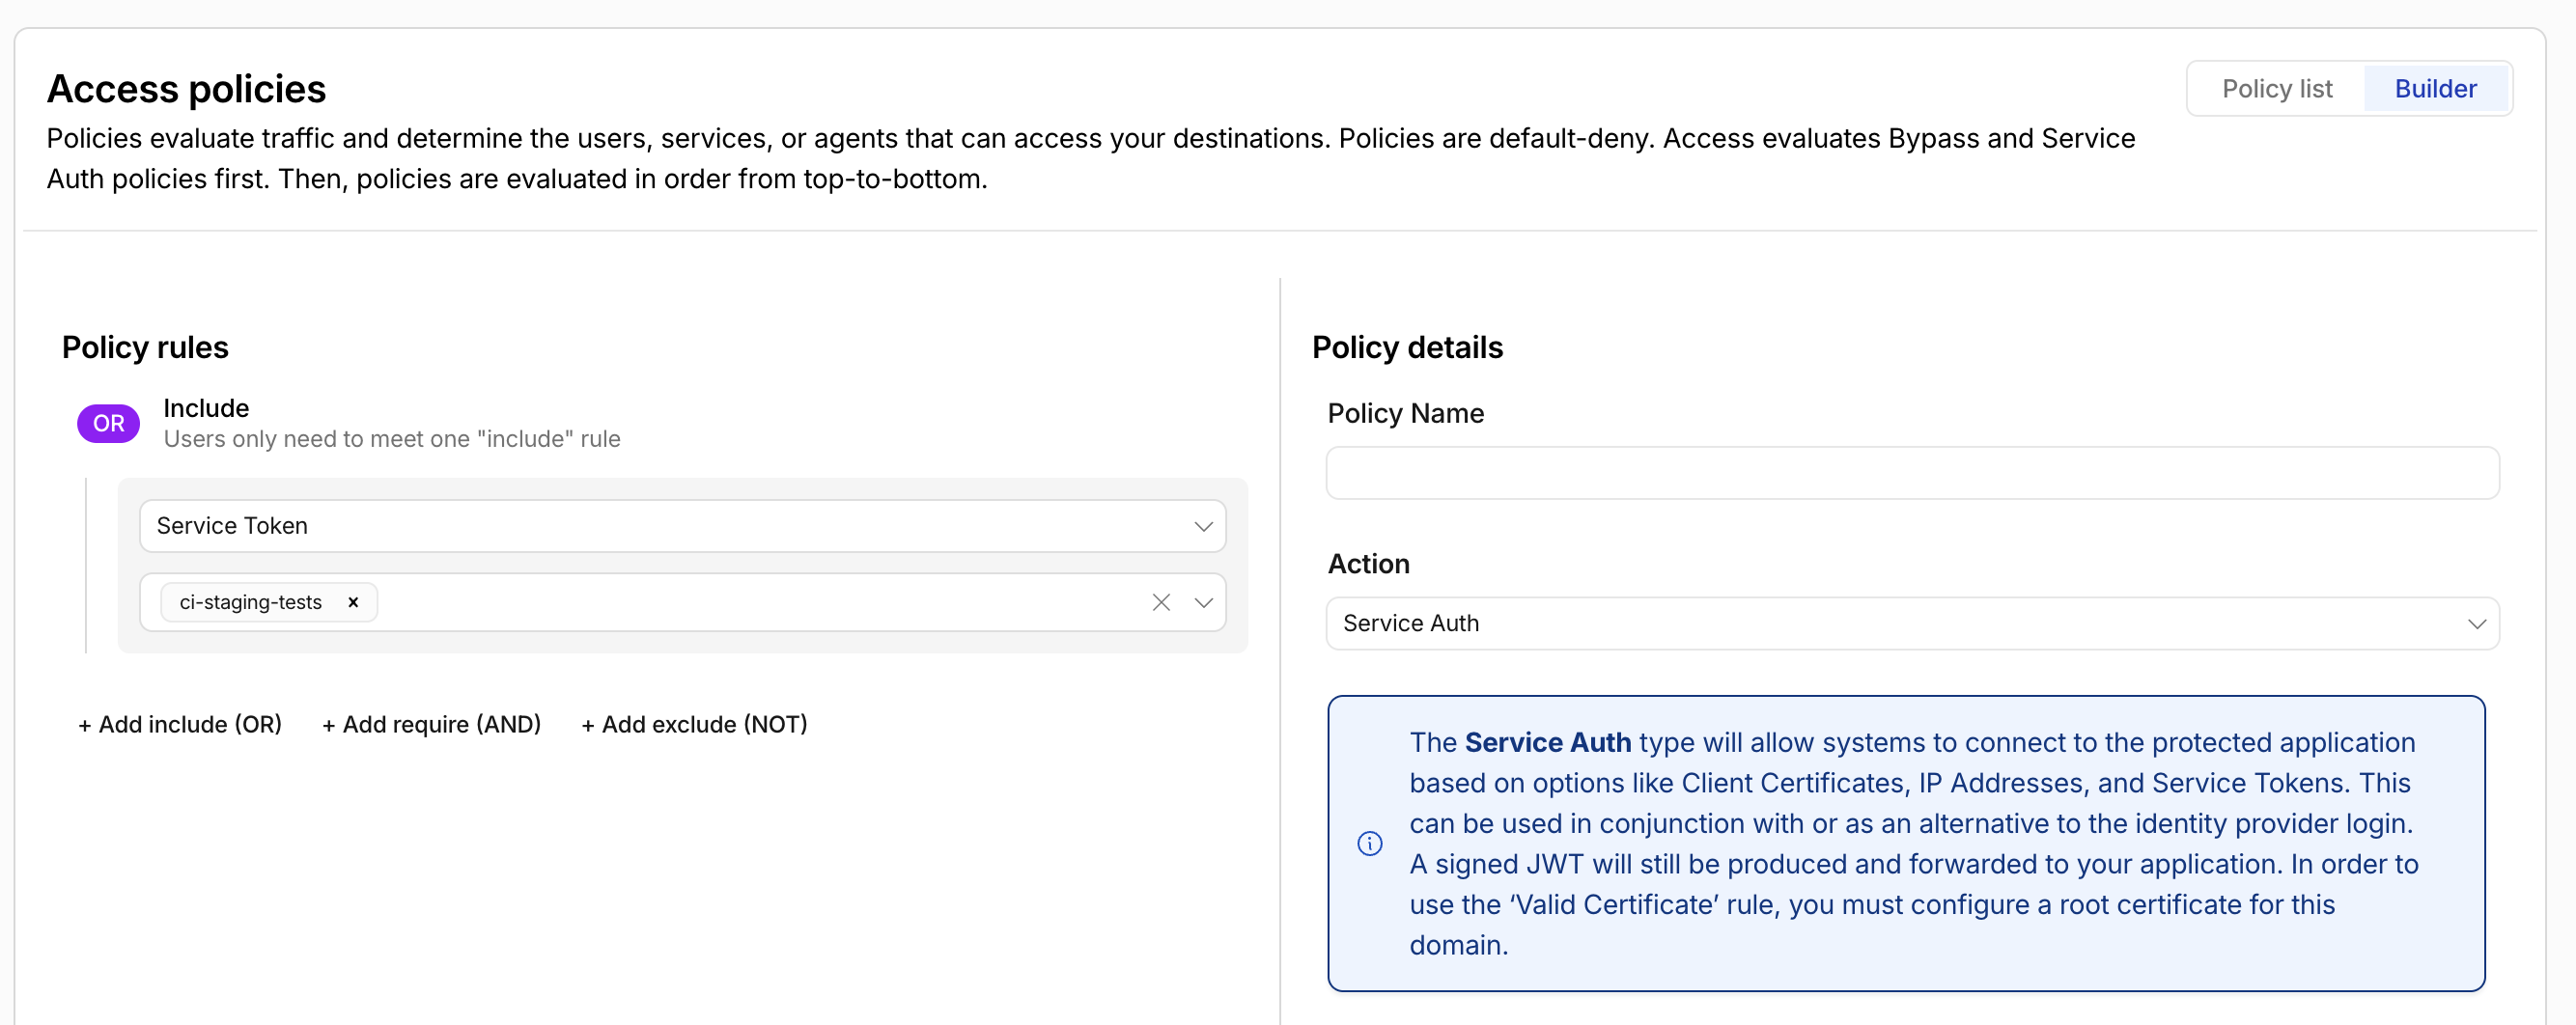
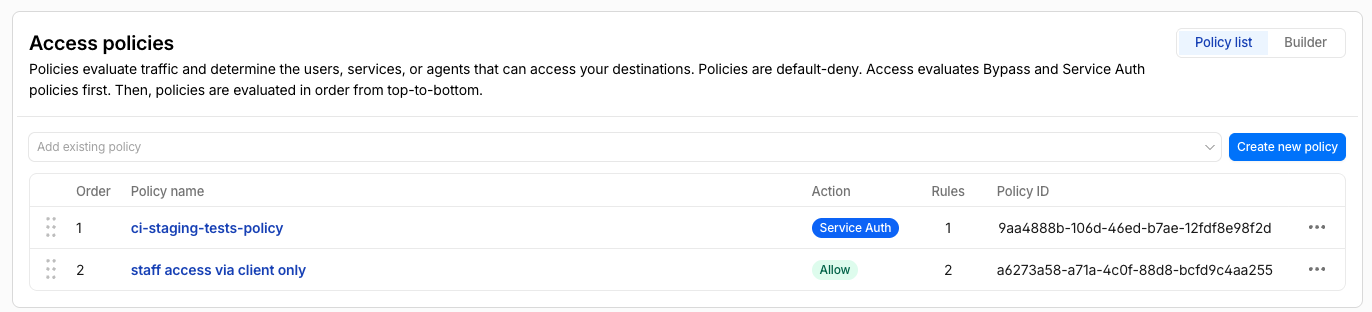
- Save the new policy and save the application. You should then have at least two policies: one for the CI/CD system (Service Auth) and one for staff/human use. Note: the order doesn’t matter for Service Auth policies: Cloudflare treats Service Auth policies as higher priority than other policy types
Configure your CI/CD runner
I use Github Actions for the CI/CD flow these days. Your CI/CD runner will follow a similar approach.
For Github Actions, in your repo navigate to Settings -> Secrets and variables -> Actions and add the following to Repository Secrets, using the values you saved previously:
- CF_ACCESS_CLIENT_ID
- CF_ACCESS_CLIENT_SECRET
Newman/Postman
-
Add a pre-request script at the collection level to inject the CF_ACCESS_CLIENT_ID and CF_ACCESS_CLIENT_SECRET secrets into each API test call:
const clientId = pm.environment.get('CF_Access_Client_Id'); const clientSecret = pm.environment.get('CF_Access_Client_Secret'); // Only add the credential when it's present. Local runs without the vars send // nothing (e.g. authorising via the Cloudflare WARP tunnel instead); an empty, // present-but-invalid header would make Access reject the request outright. if (clientId && clientSecret) { pm.request.headers.add({ key: 'CF-Access-Client-Id', value: clientId }); pm.request.headers.add({ key: 'CF-Access-Client-Secret', value: clientSecret }); } -
In the CI/CD workflow, invoke Newman with the secrets
- name: API tests
  run: |
    newman run collection.json \
      -e staging.postman_environment.json \
      --env-var "CF_Access_Client_Id=${{ secrets.CF_ACCESS_CLIENT_ID }}" \
      --env-var "CF_Access_Client_Secret=${{ secrets.CF_ACCESS_CLIENT_SECRET }}"
Bruno
-
In the collection.bru file at the collection root, add in the headers:
headers { CF-Access-Client-Id: {{process.env.CF_ACCESS_CLIENT_ID}} CF-Access-Client-Secret: {{process.env.CF_ACCESS_CLIENT_SECRET}} } -
Update your CI/CD workflow to include the secrets when you invoke Bruno
# example CI step
- name: API tests
  env:
    CF_ACCESS_CLIENT_ID:     ${{ secrets.CF_ACCESS_CLIENT_ID }}
    CF_ACCESS_CLIENT_SECRET: ${{ secrets.CF_ACCESS_CLIENT_SECRET }}
  run: bru run ./collection --env staging
Playwright
Warning The obvious move is to add the headers globally to all calls by using extraHTTPHeaders. Don’t! It will include your secrets in calls to external providers such as Google when your page loads Google Fonts, and you will be leaking credentials.
-
Follow a Decorator Pattern by extending the Playwright test method. Replace “example.com” with your own api domain so that any calls to your api domain will get the headers added:
import { test as base, expect } from '@playwright/test'; const clientId = process.env.CF_ACCESS_CLIENT_ID; const clientSecret = process.env.CF_ACCESS_CLIENT_SECRET; export const test = base.extend({ context: async ({ context }, use) => { // Only attach the credential to our own (gated) hosts if (clientId && clientSecret) { await context.route( (url) => url.hostname.endsWith('.example.com'), async (route) => { await route.continue({ headers: { ...route.request().headers(), 'cf-access-client-id': clientId, 'cf-access-client-secret': clientSecret, }, }); }, ); } await use(context); }, }); export { expect }; -
Then, in your test fixtures, update to use your extended test method
// before import { test, expect } from '@playwright/test'; // after import { test, expect } from './fixtures'; -
Update your CI/CD workflow to use the secrets
- name: Playwright tests
  env:
    CF_ACCESS_CLIENT_ID:     ${{ secrets.CF_ACCESS_CLIENT_ID }}
    CF_ACCESS_CLIENT_SECRET: ${{ secrets.CF_ACCESS_CLIENT_SECRET }}
  run: npx playwright test