Log entry
ZTN: Devices
In the previous Zero Trust Networking (ZTN) post, we saw how we can secure a website or even part of a website. Let’s take it to the next level and require users to be on approved devices. Only those users on company laptops (or your home laptop if you are an indie dev) will then be allowed to access the secured resources.
The next level: auto-auth for trusted devices
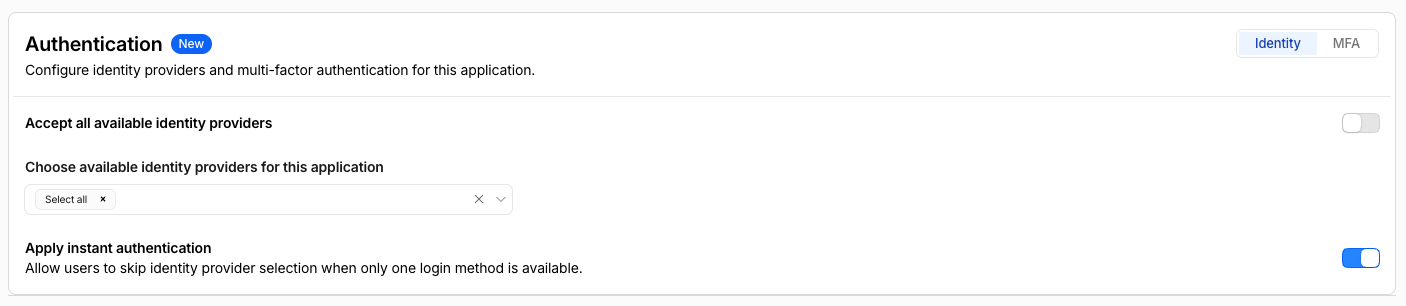
- In the Zero Trust area, Access Controls -> Access Settings and activate Enable authentication using Cloudflare One

- Go to your application in Access Controls -> Applications and enable Authenticate with Cloudflare One Client

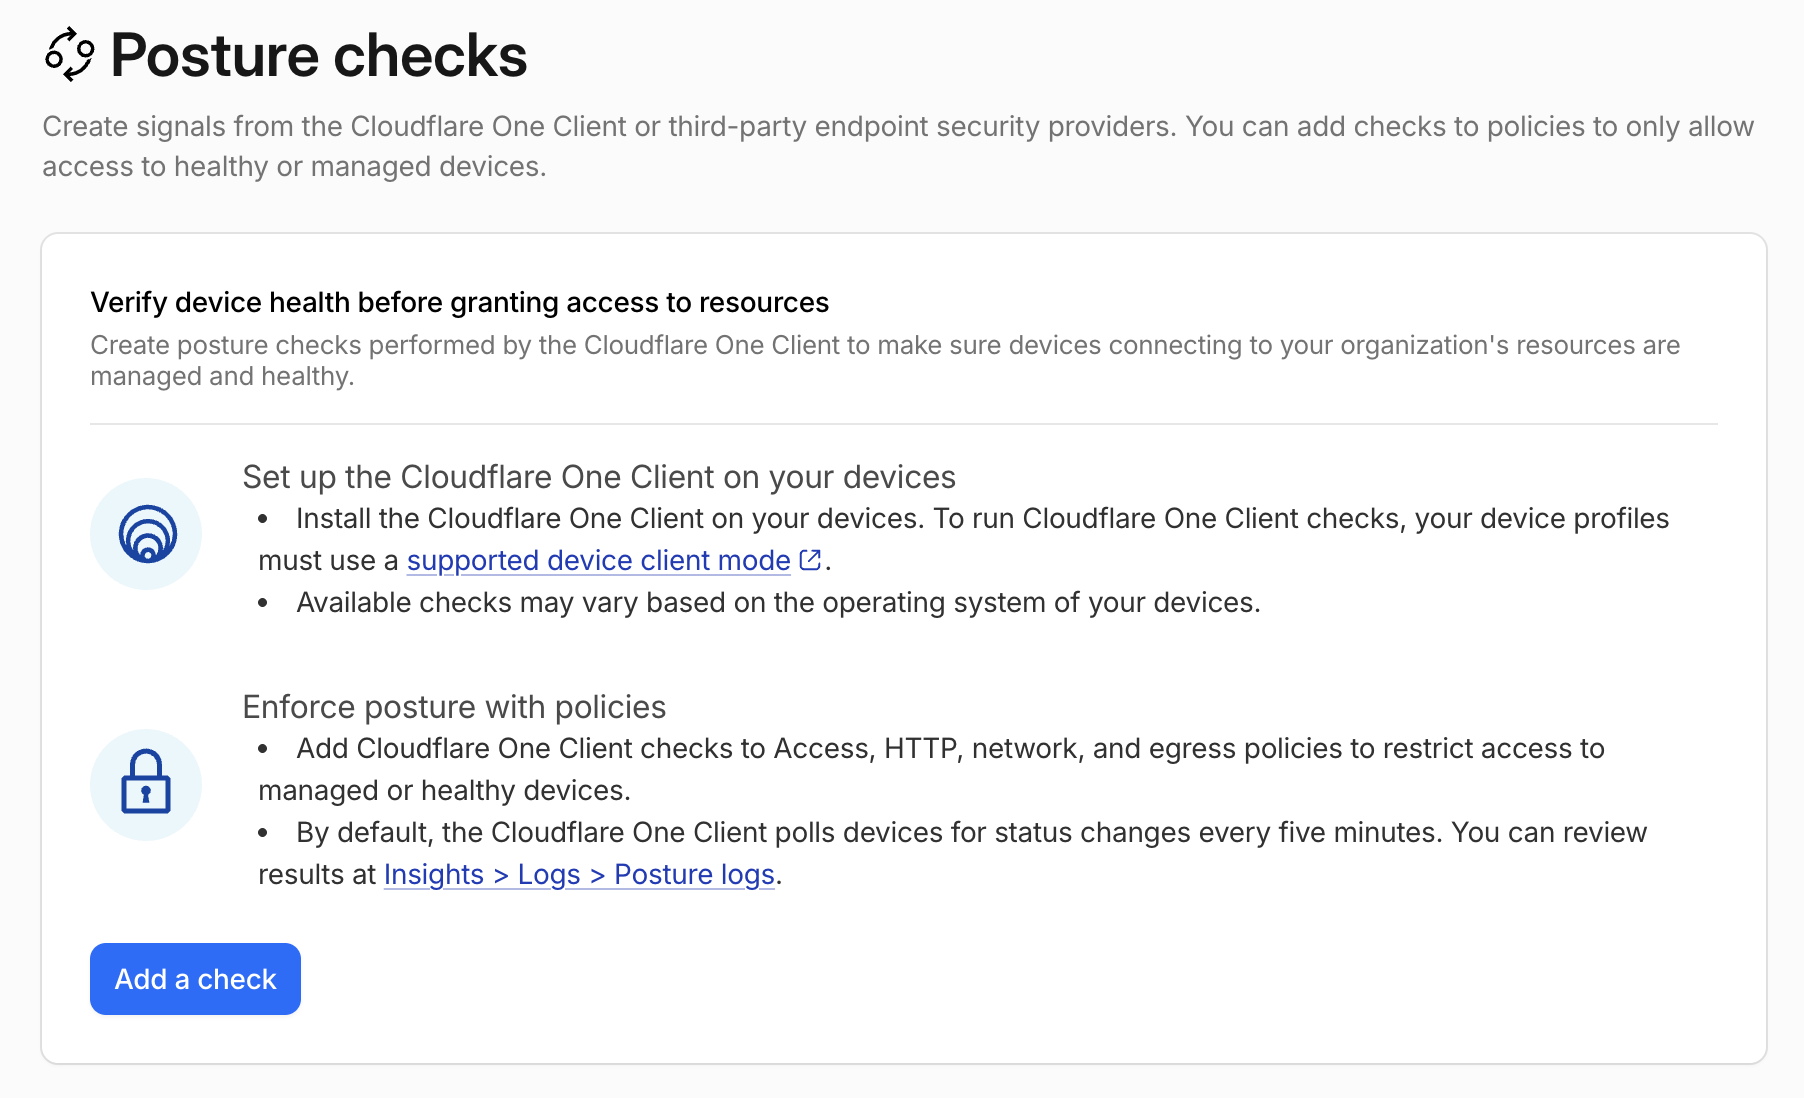
- Next, add a “Device Posture” for Clients. This will enable users to login to your application with their logged in Cloudflare One Client. Go to Reusable Components -> Posture Checks
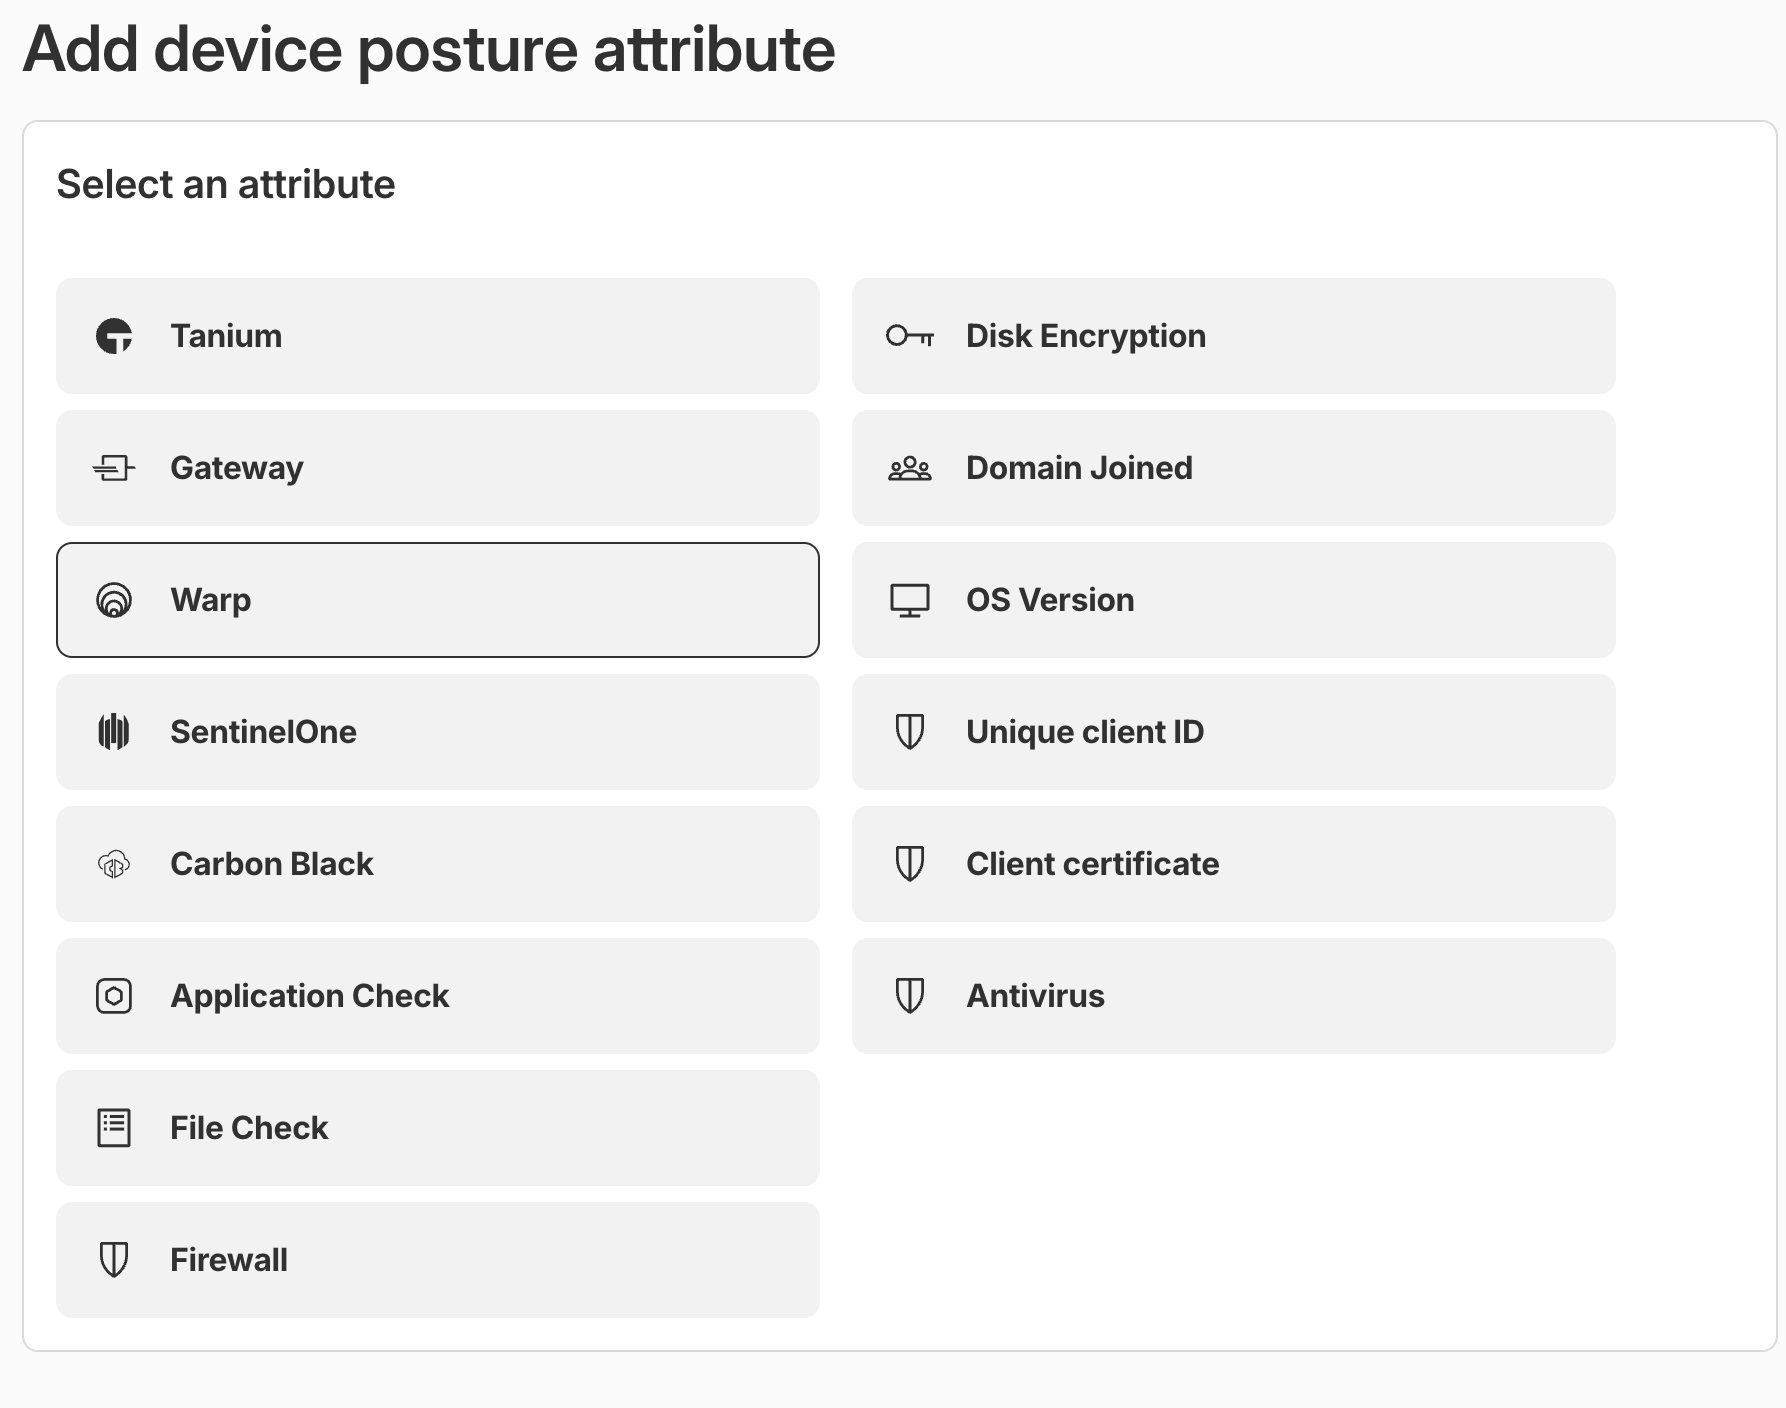
- … and add a device posture check for Warp
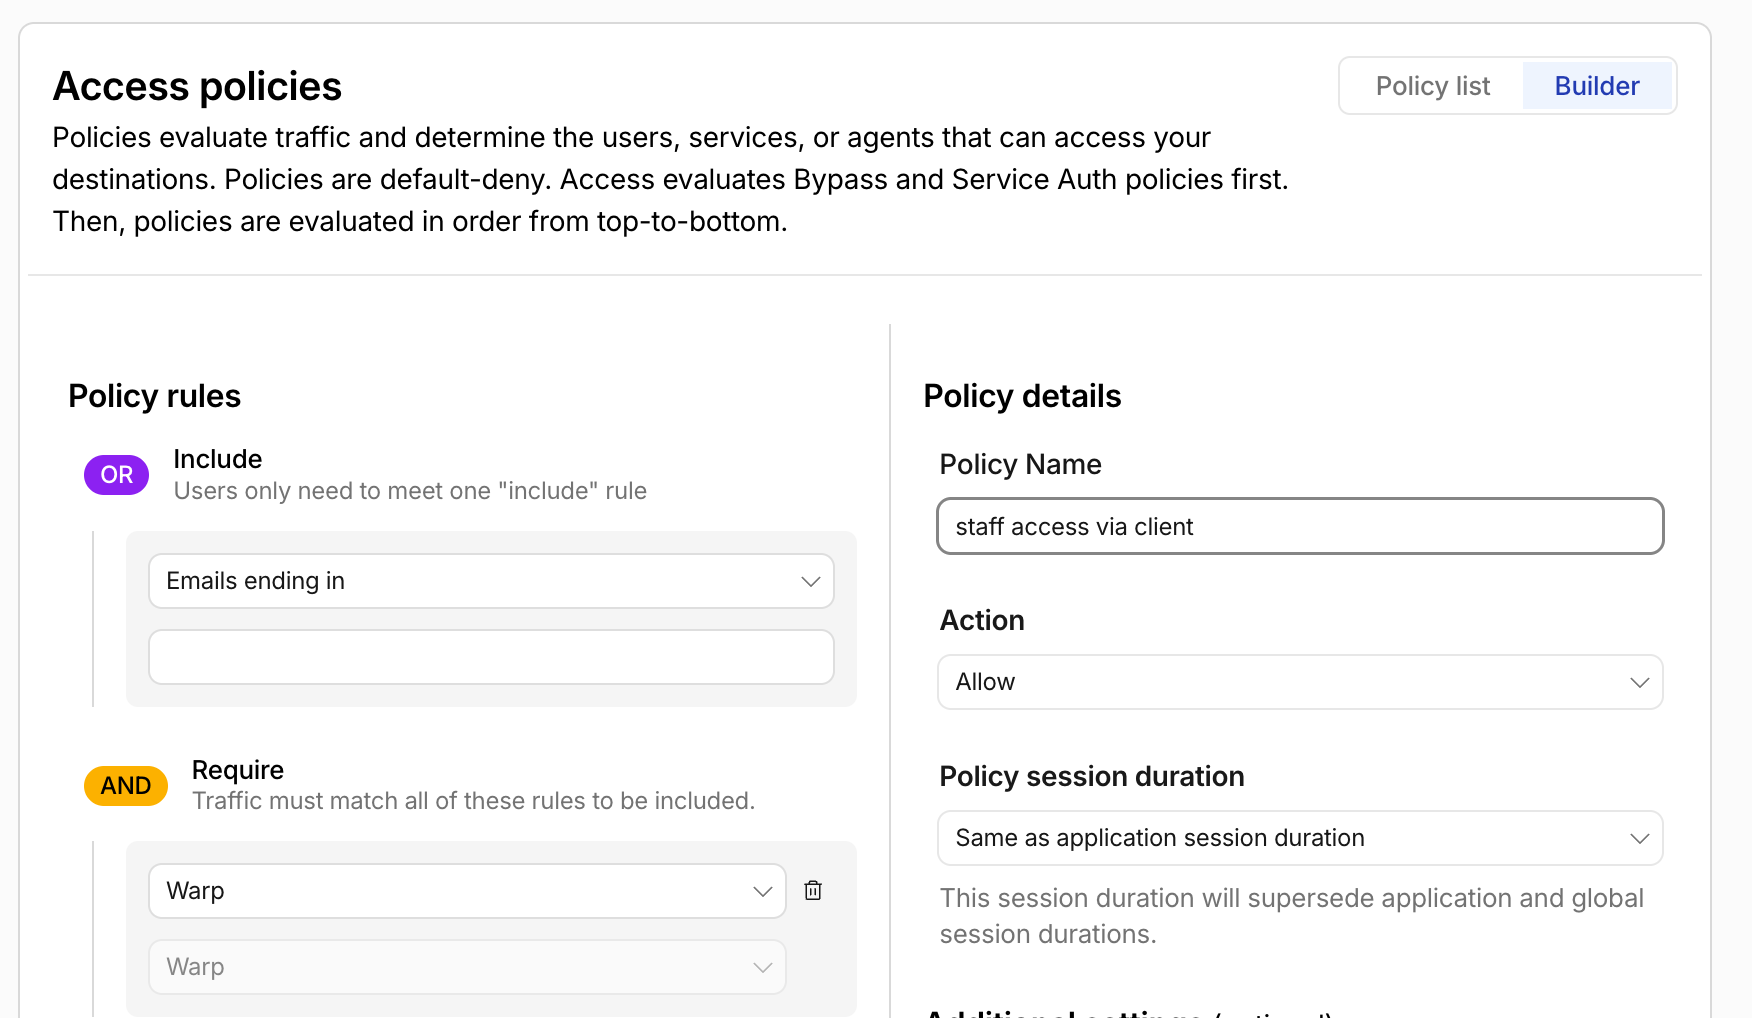
- Next, add a new policy to your application so that users must have the Client installed and be logged in. Go to Access Controls -> Applications and add the policy
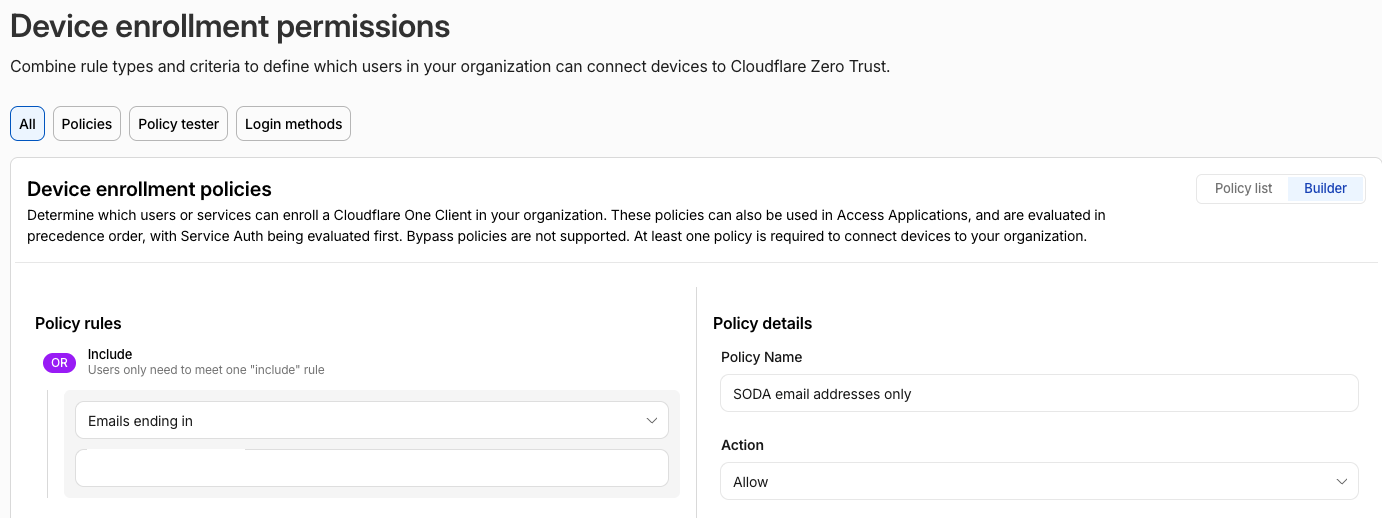
- Next, make it so that users must be part of your email domain to enroll their device. We don’t want random users enrolling themselves. Devices -> Management -> Device enrolment permissions -> Manage. Add a Policy to restrict to your email domain only
- … and for further peace of mind, restrict authentication to your configured identity provider only
- Install the Cloudflare One Client
- Go to Settings -> Downloads and download the latest release for your computer

- Follow the setup guide by choosing Cloudflare One Client
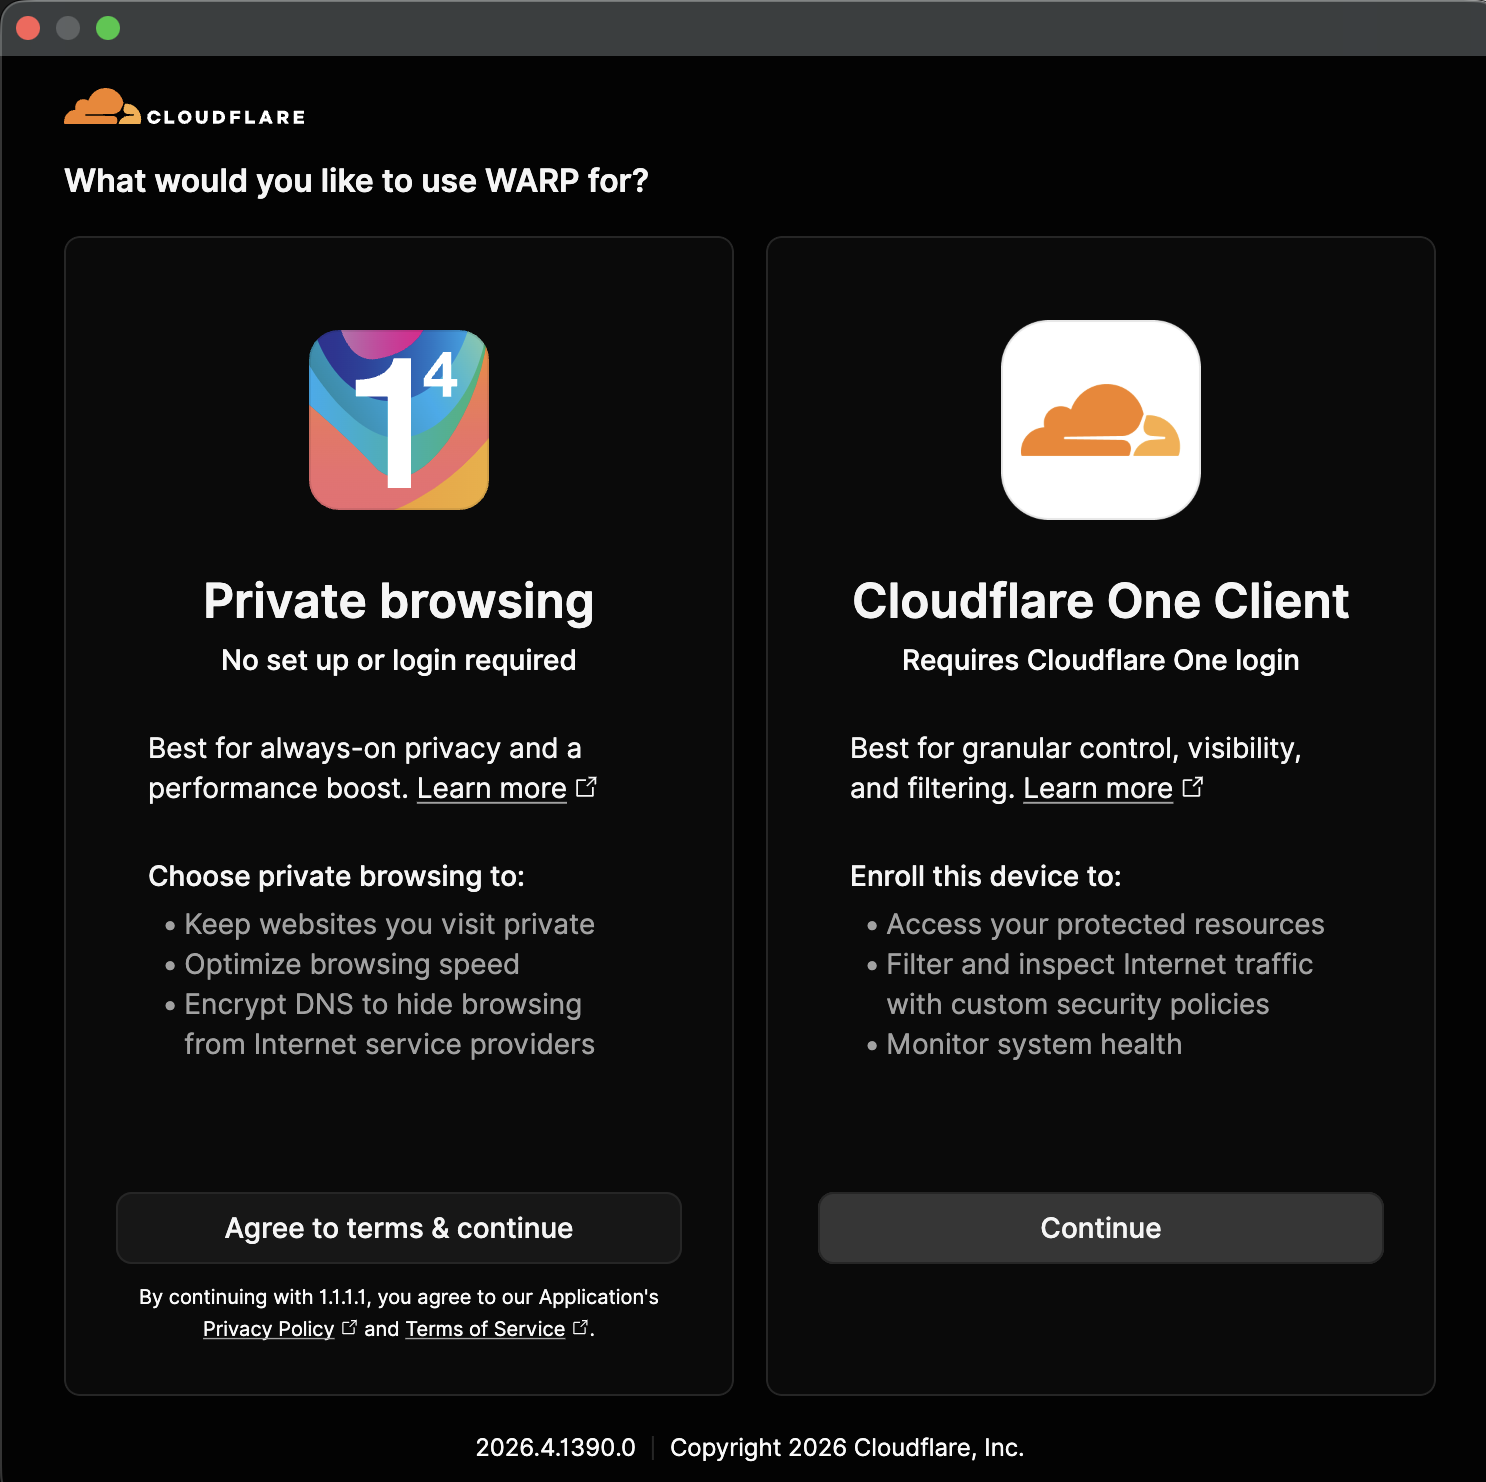
- It will ask you to login to your team, it will send you a one time pin and once you login, the Client is ready to go:
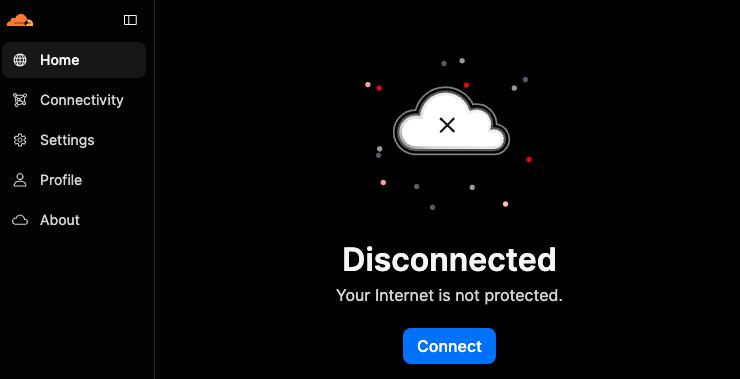
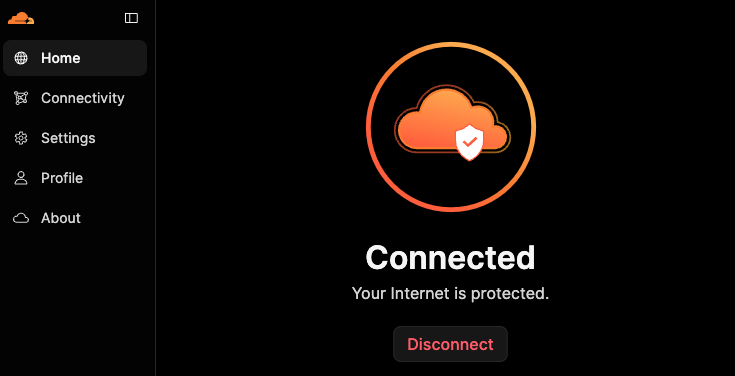
- Just hit connect when you want to connect to your secure website
- Best go to Devices on the web portal and verify your device appears
- Go to Settings -> Downloads and download the latest release for your computer
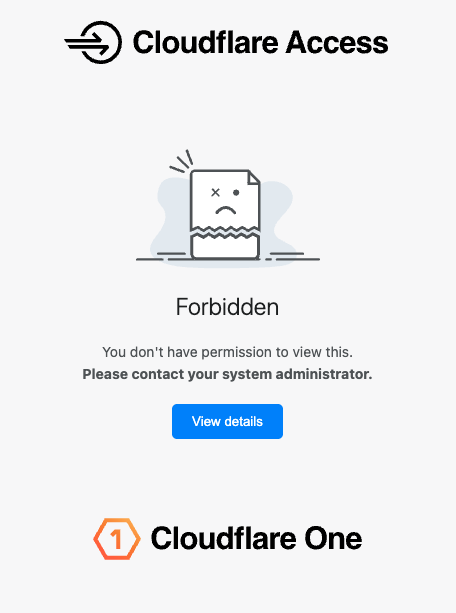
- Then, when your client is disconnected, try to hit your website. You should see something similar to the following:
- Try to connect your client. You should end up on your website!