Log entry
Zero Trust Networking (ZTN)
Zero Trust Networking (ZTN) is a cybersecurity framework built on the principle of “never trust, always verify”. Unlike legacy castle-and-moat models, it assumes attackers are already inside the network. It authenticates, authorises, and continuously validates every user, device, and application before granting access to resources.
What did the older VPN based security model look like?
With the older VPN approach, you put in place a strong perimeter to try to stop attackers getting into your systems. However, if an attacker found a weak spot somewhere they would be inside the perimeter: 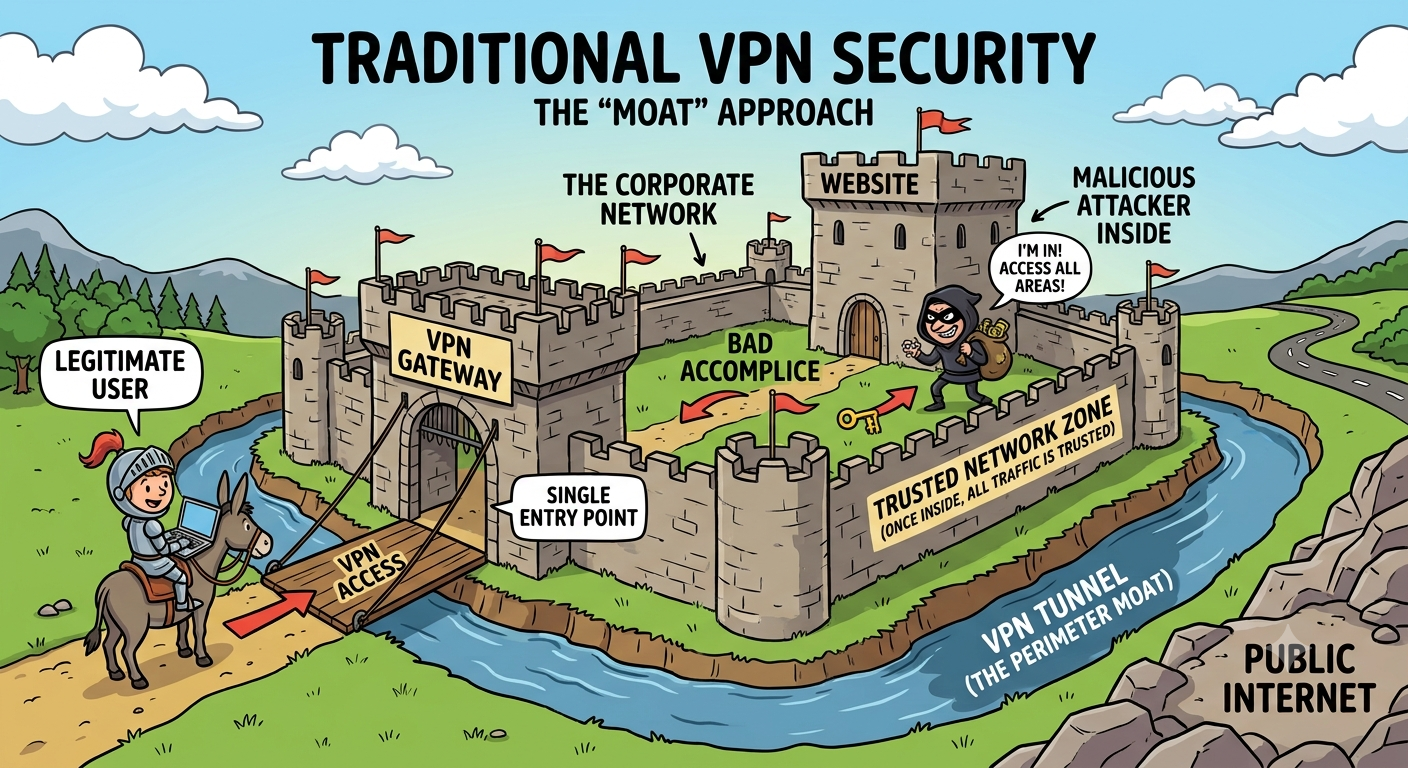
How is Zero Trust Networking different?
You can still have a perimeter, but with ZTN you don’t require or trust that perimeter anymore. You instead put a perimeter on everything, adopting a “zero trust” mindset, trusting no-one. Every time a user wants to access an internal system, the user is verified to make sure they have access: 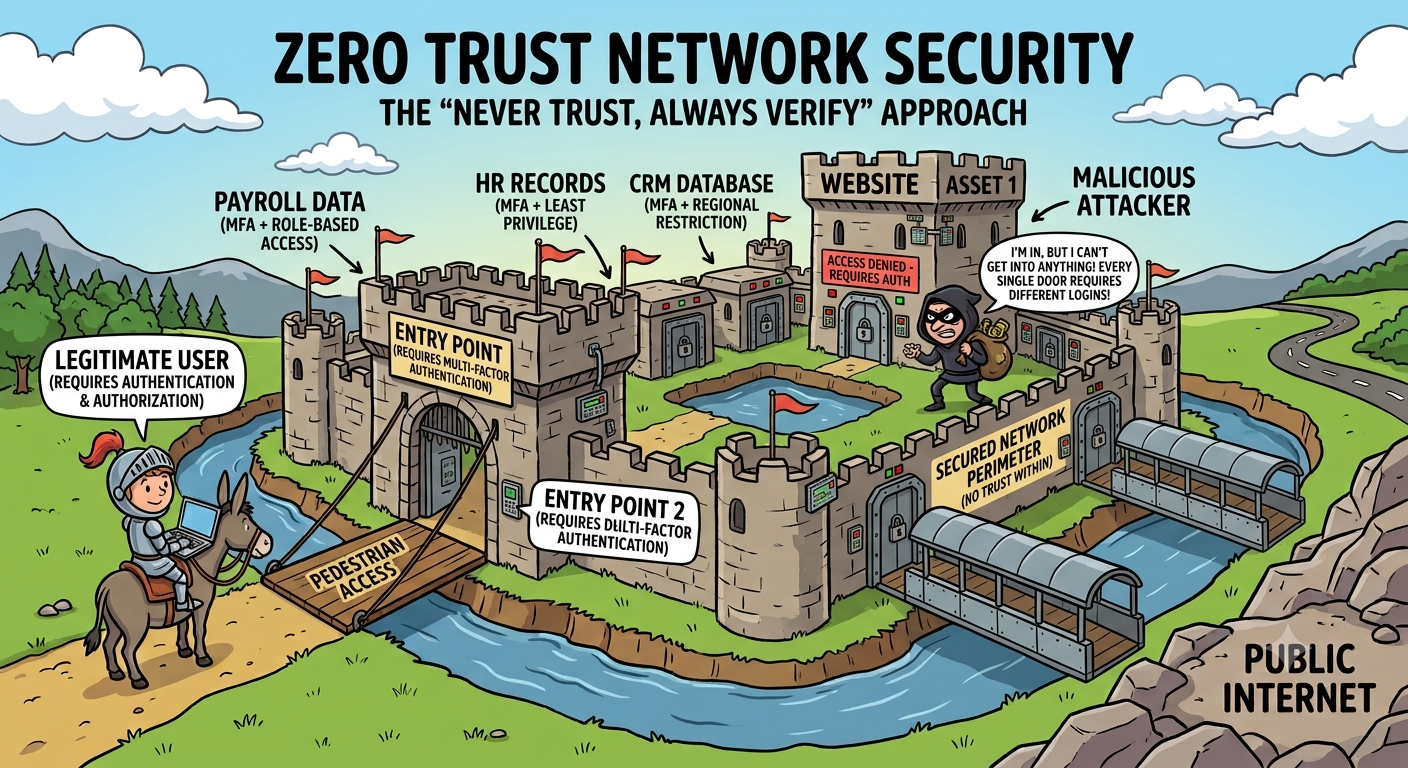
What does that mean in practice?
You no longer need a VPN or extensive networking experience. You can also secure a website, or even part of a website on the internet.
E.g. you can secure:
- a staging website that you don’t want random users to find
- a prod Admin website that should only be for company staff use
- parts of your website/API that should only be for your use, e.g. /admin/*
It’s much more flexible and the good news is that it is free to set up with Cloudflare
Note: ZTN is an evolving space within Cloudflare. I found that the various AIs including Gemini, Claude and Copilot all gave wrong information on how to set it up. I even found Cloudflare’s own documentation was out of date. The following guide works mid-2026.
How to enable in Cloudflare
- Enable Zero Trust on your account. It will ask for a credit card, but it is free to use
- Give your team a suitable name. It’s going to be “{something}.cloudflareaccess.com”, and the {something} name will be globally unique. E.g. “home” will probably already be taken.
- You will need an identity provider to login with. Go to Integrations -> Identity Providers and add a suitable provider. You could start with the Cloudflare provided One-time PIN to get you going. Users will be sent a pin number to their email address when they hit your website
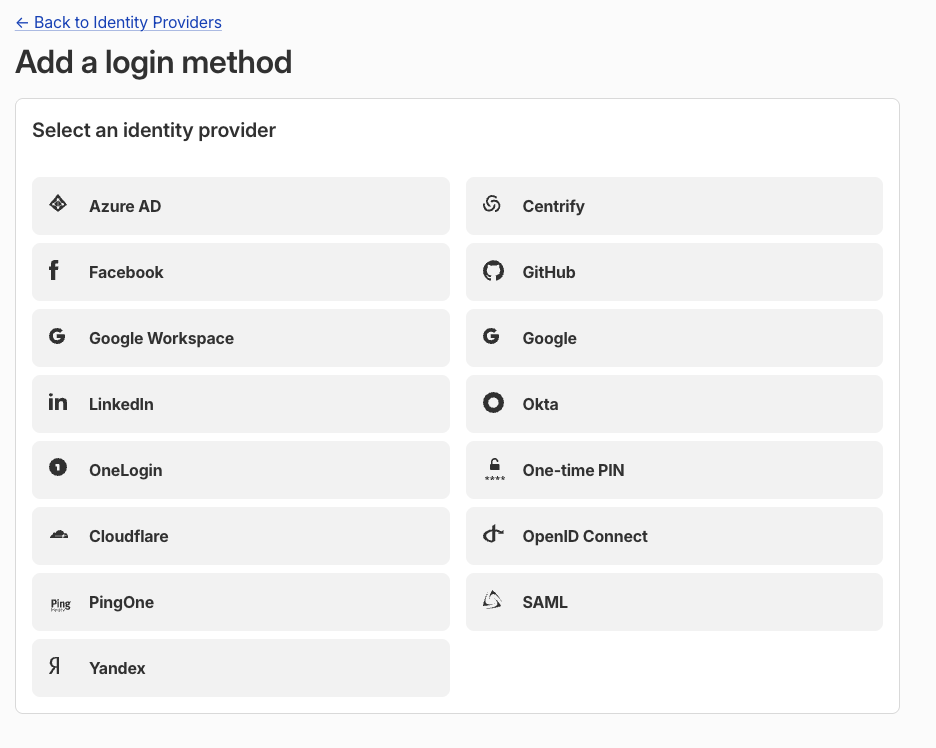
- In the web portal, navigate to Access Controls -> Applications and Add an Application
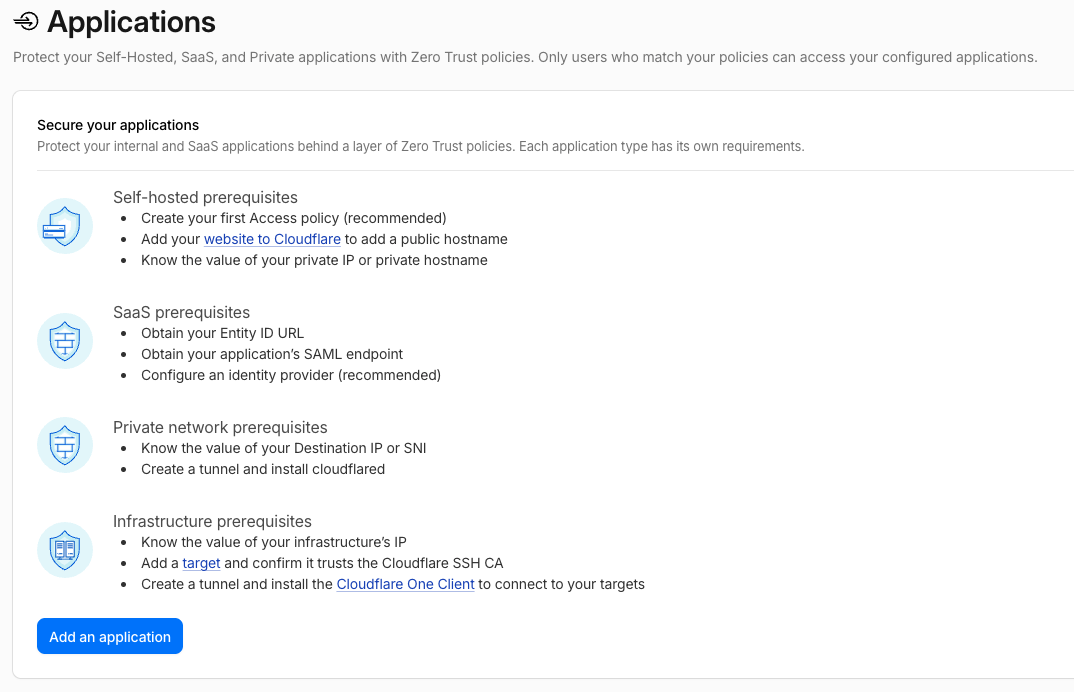
- My sites are Cloudflare hosted and I went with “Self hosted” and “Public DNS”
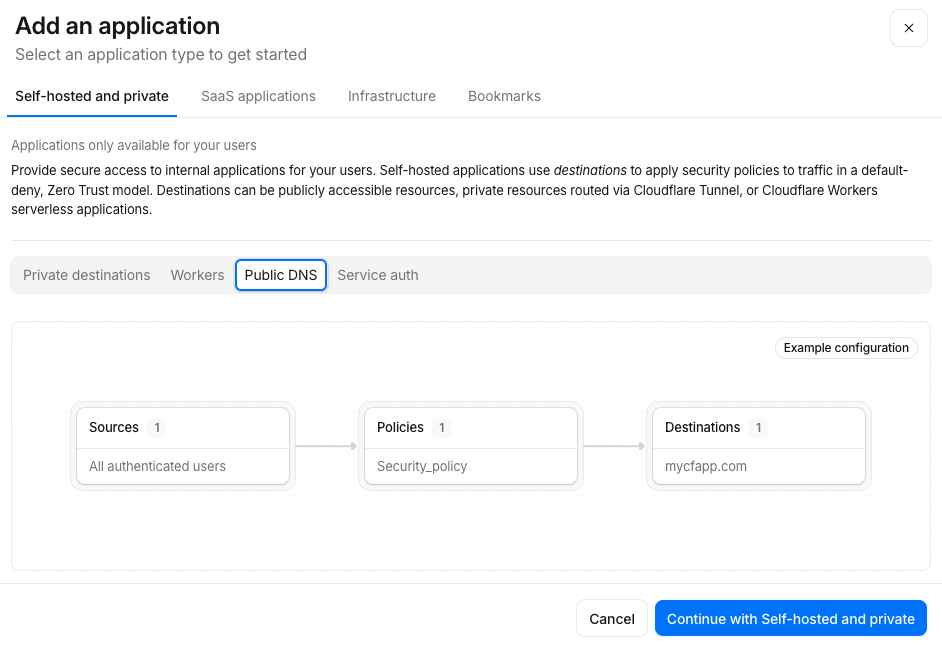
- In the following screen, add the hostnames and add an Access Policy to restrict to the allowed logins to be your expected email, or more usefully to emails that end in your email domain
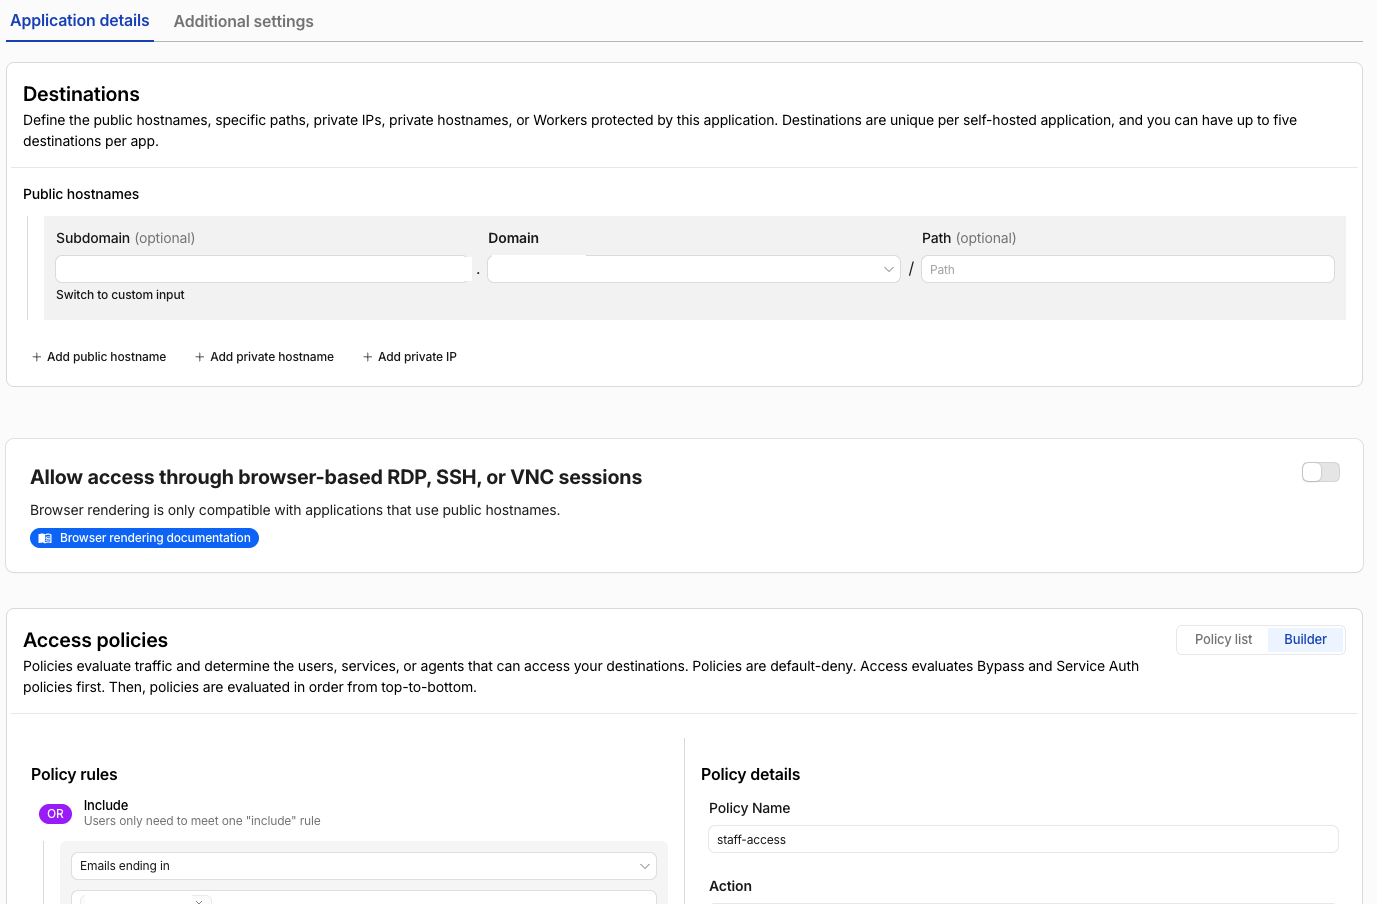
- You can also set the Session Duration to something you can live with. Too short and it will be too annoying, too long and it might be less secure

- Try to hit your site. You should be prompted to login. Users who fail to login will be blocked
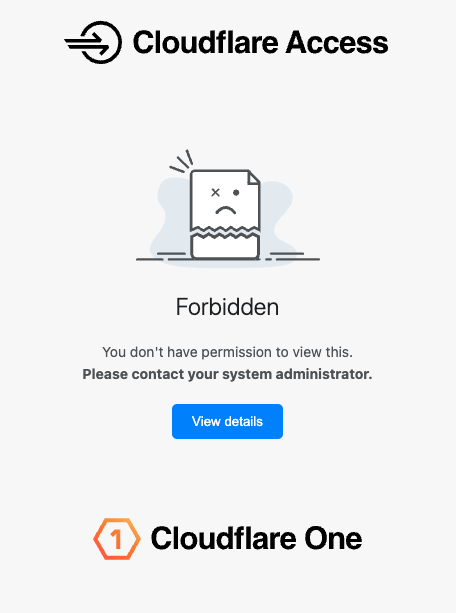
Note — Include your .pages.dev sites if you are hosting via Cloudflare Cloudflare provides .pages.dev versions of your site. Be sure to add those to ZTN, otherwise attackers will bypass ZTN via those pages.dev versions.
Note — Terraform As part of good practices, you should explore using Terraform to apply these settings. Given how the Cloudflare documentation was out of date, I didn’t go down the Terraform route at this time but it’s on the to-do list for the future.